
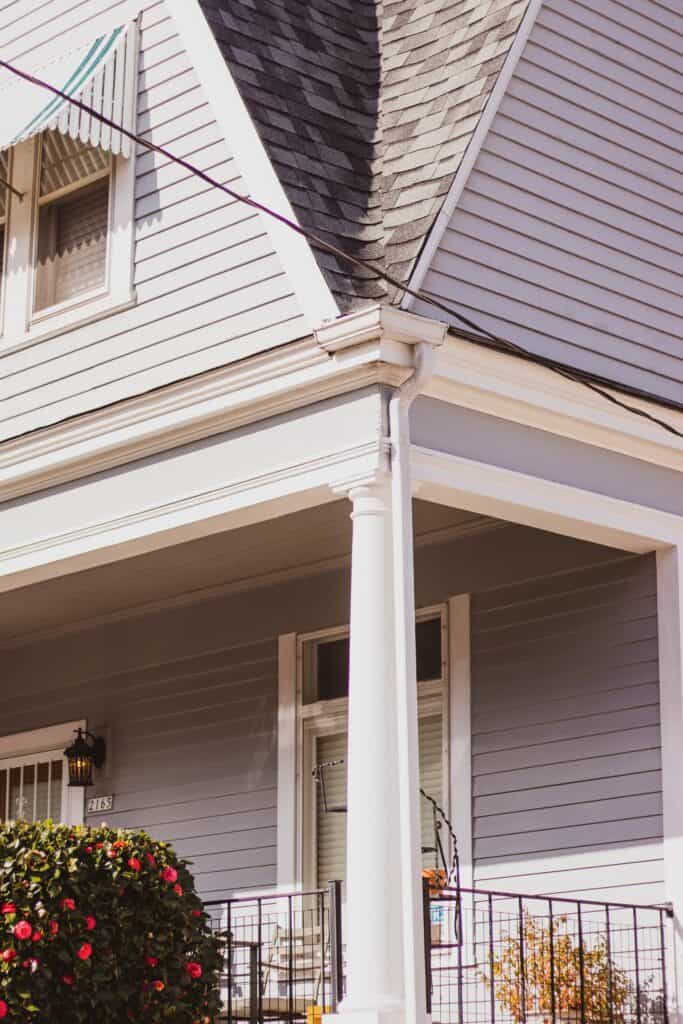
Renowned for its durability and low maintenance, vinyl siding is a top choice for homeowners. However, even the strongest materials can suffer under certain circumstances. It’s crucial to address any issues with your vinyl siding promptly to prevent further damage and avoid attracting pests.
This guide offers essential insights and a step-by-step process for homeowners who prefer handling repairs themselves to save money. Understanding what causes vinyl siding damage and its consequences is crucial, as overlooking these issues can lead to more extensive and costly repairs in the future.
What Causes Vinyl Siding Damage?
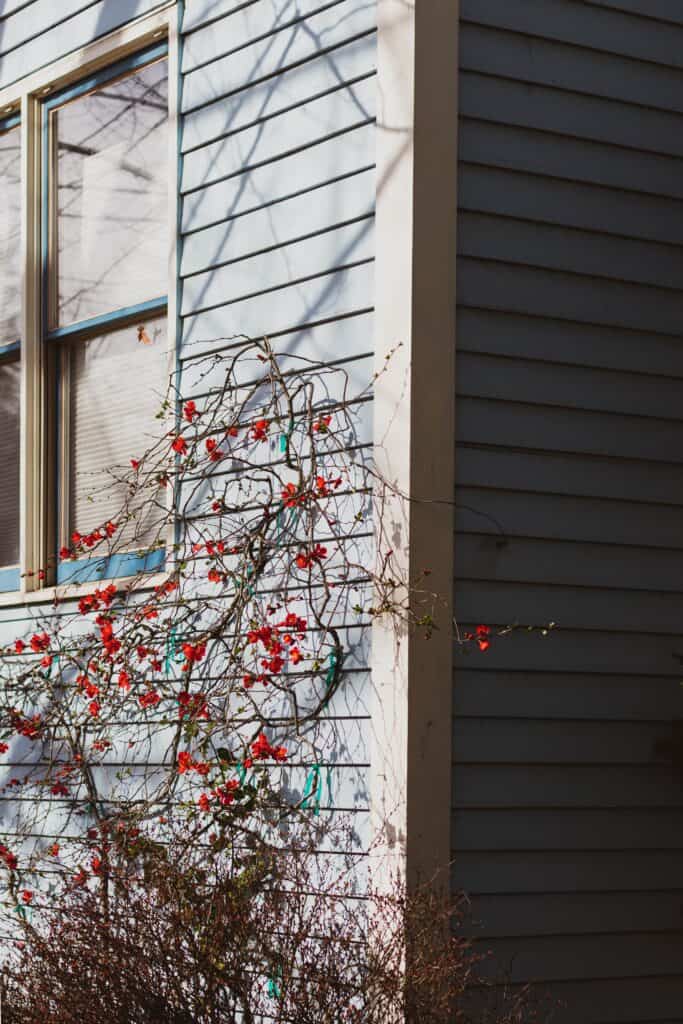
Despite being sturdy, vinyl siding is not immune to damage. Some common causes include impact from hail or debris, exposure to harsh weather conditions, moisture leading to mold or mildew growth, and insect infestations due to loose or damaged siding. Neglecting these problems can result in substantial repairs down the line. To preserve your budget and maintain your home’s structural integrity, it’s vital to address vinyl siding damage as soon as it becomes apparent.
Vinyl Siding Repairs: The DIY Way
Thankfully, repairing vinyl siding does not have to be a daunting task. With the proper equipment, materials, and some patience, you can effortlessly restore the look and functionality of your siding.
Preparations before Repair
Before beginning the repair process, make sure to take necessary safety precautions by wearing protective gear such as safety glasses and work gloves. Carefully assess the extent of the damage to your siding. Assemble all required tools and replacement materials beforehand for a seamless repair experience. Remember that patience and thorough preparation are essential for a successful outcome.
Revamping Your Siding
Follow these simple steps to guide you through repairing your vinyl siding:
1. Evaluate the Damage: Conduct a thorough examination of your vinyl siding to determine the scope of the damage. Take note of any cracks, holes, dents or missing pieces.
2. Prepare the Damaged Area: For minor damages, like small holes in your siding, caulk can do the job effectively. It’s crucial to ensure that the affected area is clean for better adhesion. Use a microfiber cloth and warm soapy water to remove any dirt or debris from the damaged section.
3. Prepare for the Repair: Before beginning the repair process, gather all necessary tools and materials, including replacement siding pieces, a utility knife, a zip tool, a pry bar, a hammer, nails, and color-matching vinyl caulk. Being prepared can make your DIY repair journey smoother.
4. Extract Damaged Siding: Use a zip tool to unlock the piece above the damaged section and gently slide it beneath the overlap. Then use a pry bar to remove the nails holding the damaged piece in place without harming the surrounding siding.
5. Prepare the New Piece: Measure and cut the replacement siding piece to match the length of the damaged section. Ensure it matches with your existing siding in profile and color.
6. Install and Secure: Slide the new piece into place and nail it down while aligning it with surrounding siding. Seal any gaps with color-matching vinyl caulk.
7. Check for Fit: Make sure the new piece fits securely and adjust if necessary. The repaired section should blend seamlessly with your existing siding.
8. Maintain Your Home’s Value: Regularly cleaning and inspecting your vinyl siding can prevent future damage and boost curb appeal. DIY repairs can also save money while providing personal satisfaction.
9. When to Ask for Help: It’s important to understand that not all vinyl siding repairs can be done by yourself. If the damage is extensive, affects a significant portion of your siding, or is caused by structural issues, it’s wise to seek help from professionals.
Additionally, if you lack experience with tools such as drills or are uncomfortable with elevated repairs, hiring an experienced contractor is the safer option. They have the necessary skills and equipment to handle complex repairs efficiently and effectively.
Moreover, if your vinyl siding is still under warranty, enlisting professional help may be necessary to maintain coverage. In these situations, relying on their expertise will ensure the integrity of your home is protected.
Should You DIY or Hire a Professional Siding Contractor for Your Vinyl Siding Repairs?
Vinyl siding is an excellent choice for homeowners seeking a long-lasting and low-maintenance exterior. While it can withstand various environmental challenges, it may eventually require repairs over time.
Fixing vinyl siding yourself can be both practical and cost-effective if done correctly. Promptly addressing any abnormalities in your siding can prevent further deterioration and potential pest infestations.
If you are uncomfortable trying to do-it-yourself, we highly recommend reaching out to a professional contractor to repair your siding.