
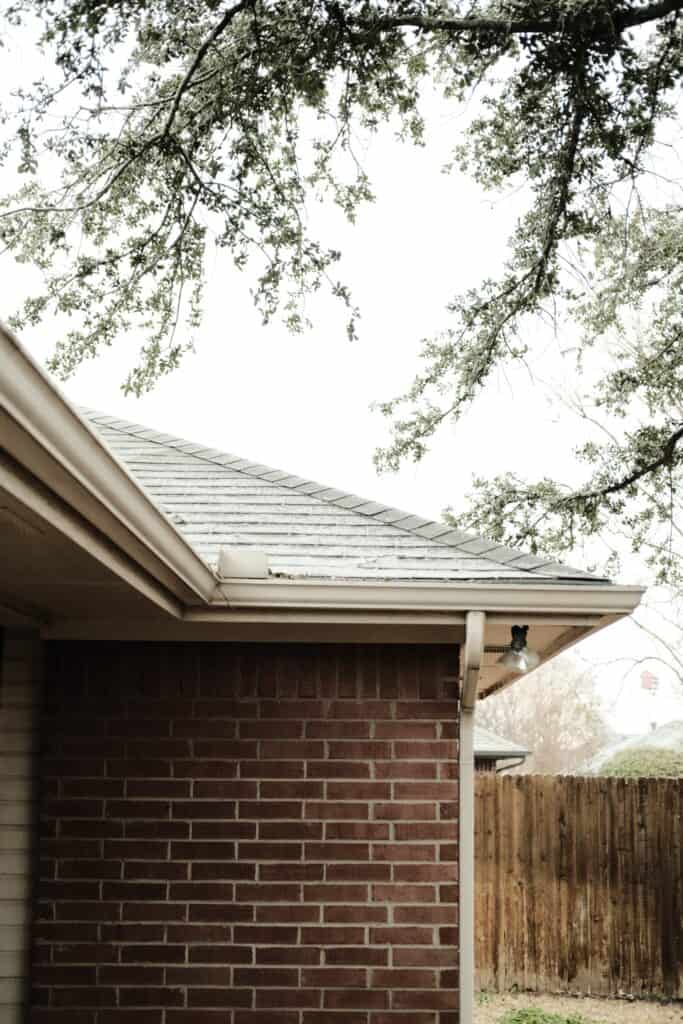
Your home likely conjures many thoughts about warmth, comfort, decor, and, presumably, your mortgage payments. Gutters rarely come to mind.
In essence, gutters play an important role in your home, much like supporting actors in a movie.
Our minds are drawn to the stars, whether they be the main actors of a movie or the standout features in our homes. But without a reliable supporting cast, issues such as leaks and cracks can arise, leading to a disrupted plotline. In the same way, our houses face major consequences when gutters fail and cause damage to the foundation, siding, and interior walls.
What Makes It Necessary to Repair Malfunctioning Gutters?
The typical cost for fixing water damage caused by broken gutters ranges from $1,309 to $5,932.
When gutters fail, they are unable to properly redirect water flow, which can cause harm to your landscaping. This includes potentially drowning nearby flowerbeds and gardens, resulting in a decline in your home’s curb appeal.
Upon observing your gutters sagging or water collecting around the foundation of your house, it is advisable to contemplate repairs.
You can save money on this home improvement project by DIYing it. This process can be daunting–but Canopy is here to help with some expert tips to fix common issues in traditional gutters.
Required Tools and Materials for Gutter Replacement or Repair
Here is a comprehensive checklist of essential equipment required to complete your own gutter repair:
● Cordless drill.
● Hacksaw.
● Leather gloves.
● Ladder.
● Garden hose.
● Chalk snap line.
● Drill bits and drivers.
● Tin snips.
● Safety glasses.
● Bubble or laser level.
● Pencil and marker.
● Tape measure.
● Putty knife.
● Stiff bristle wire brush.
These are the necessary materials for the task:
● Gutters.
● Gutter slip joint connectors.
● Gutter sealant.
● Gutter end caps.
● Fascia hanger bracket.
● Downspouts (if necessary).
● Hex head gutter sheet metal screws.
Lastly, here are some additional resources that you can use at your discretion:
● Downspout U-brackets.
● 75-degree downspout elbow.
● Downspout drop outlets.
● Extra fascia board.
● Flexible downspout extension.
Instructions for Replacing a Segment of Gutters
Should your gutters suffer from any damage, you may need to replace the affected part with a new fitted section. Alternatively, you could patch it up or even replace the entire gutter system.
You will require either tin snips or a saw to fashion the new section and trim it to the appropriate length. Additionally, the new gutter piece should overlap with the existing gutters on both sides.
Having covered all of that, here are a few useful tips for replacing gutter sections.
1. Preparing the Area
Remove debris and dirt from your gutters by using a garden hose. Then, utilize a putty knife to scoop out any remaining twigs. For any rust spots, scrub them clean with a stiff wire brush before allowing the area to dry.
2. Removing the Old Gutter
Using a screwdriver or cordless drill, detach the old gutters by removing their brackets and screws. To maintain the shape of the gutters you’re keeping, insert spacers between the sections.
3. Trimming Gutters to Size
To begin, place a gutter section on a work table and measure it before marking the desired cutting length. Utilize a hacksaw or tin snip to make the cut, being careful to maintain a steady pace for a clean line. As you work, feel free to rotate the gutter as needed for a straight cut throughout.
If you plan on cutting aluminum gutters, remember to file down any sharp edges.
4. Installing the New Gutters
Coat both the new and current gutter sections with sealant before connecting them, as this will prevent any potential leakage at the joint.
To secure the joined sections, utilize stainless steel screws or rivets at the side of the joint. Avoid adding them at the bottom of the joints to prevent leaks.
After allowing adequate time for the sealant to dry, check if the fascia hanger brackets need to be reattached. Next, assess the gutter slope to ensure proper drainage by making sure there is a quarter inch drop for every 10 feet of gutter.
Repairing Holes in Gutters
Holes in gutters can stem from rust or damage caused by screws. Smaller holes can be addressed with roofing cement or sealant, while larger holes will require a flashing to be installed.
Begin by thoroughly cleaning the designated area in which you plan to apply the sealant. Afterward, proceed by following these two steps.
1. Applying the Sealant
Using a putty knife, apply a small amount of sealant or roofing cement to the hole. Spread it evenly until it creates a smooth and uniform coating.
2. Patching Large Holes
To cover larger openings, use tin snips to cut the flashing. Ensure that there is an overlap around the gap.
Apply roofing cement or sealant to secure the flashing. Use a putty knife to spread a flat, thin layer and allow it to dry.

Fixing Sagging Gutters
Sagging gutters can be caused by accumulated debris or loose brackets. These simple fixes only require a screwdriver to address bent or stripped screws.
Here are the necessary steps to follow for fixing sagging gutters:
1. Measuring the Gutter Slope
A diagnostic process is necessary for repairing sagging gutters.
After identifying a potential sag, utilize a laser or bubble level to determine the starting point of the sag. It’s important to also reiterate that properly functioning gutters should have a quarter-inch drop for every 10 feet.
2. Identifying Damaged Gutter Hangers
First, identify the gutter hangers that require replacement. Then, decide on the method of replacing them – either replace them one at a time or remove multiple hangers at once.
If multiple hangers are removed at once, make sure there are still enough remaining to support the gutter.
3. Take Out the Previous Gutter Hangers
Utilize a cordless drill to detach fasteners and screws from gutters and hangers. Before removing and replacing the hangers, ensure that the gutter screws are in place. It may be necessary to drive screws into new locations for proper securing of both the screws and hangers.
Step 4: Secure the Screws and Hangers
Secure the gutter to the fascia using two support screws.
Employ a cordless drill to affix the screws within preexisting holes that are not stripped. Place the gutter hangers every three feet (maximum) while installing to guarantee proper support for the gutter.
Contact Canopy With Any Questions
Are there any gutter repairs, such as fixing leaks behind your gutters or repairing downspout joints, that you would like to do yourself? If that is the case, feel free to reach out to Canopy and we will gladly provide professional advice to ensure you complete the task successfully.
Moreover, consider bringing in a professional if you lack confidence or comfort in handling these repairs. Your wellbeing and peace of mind should take precedence over the cost-saving benefits of attempting them yourself.