
Half-round gutters are a retro substitute for standard square or rectangular gutters. This gutter design, which is typically made of copper, aluminum, zinc, galvanized steel, or other metals, resembles a round open tube with its top half cut off.
As a result of the development of metal rolling machines, this type of gutter first appeared in the early 1900s. In the past, half-round gutters were most typical; however, more square or rectangular box shaped gutters have since taken their place.
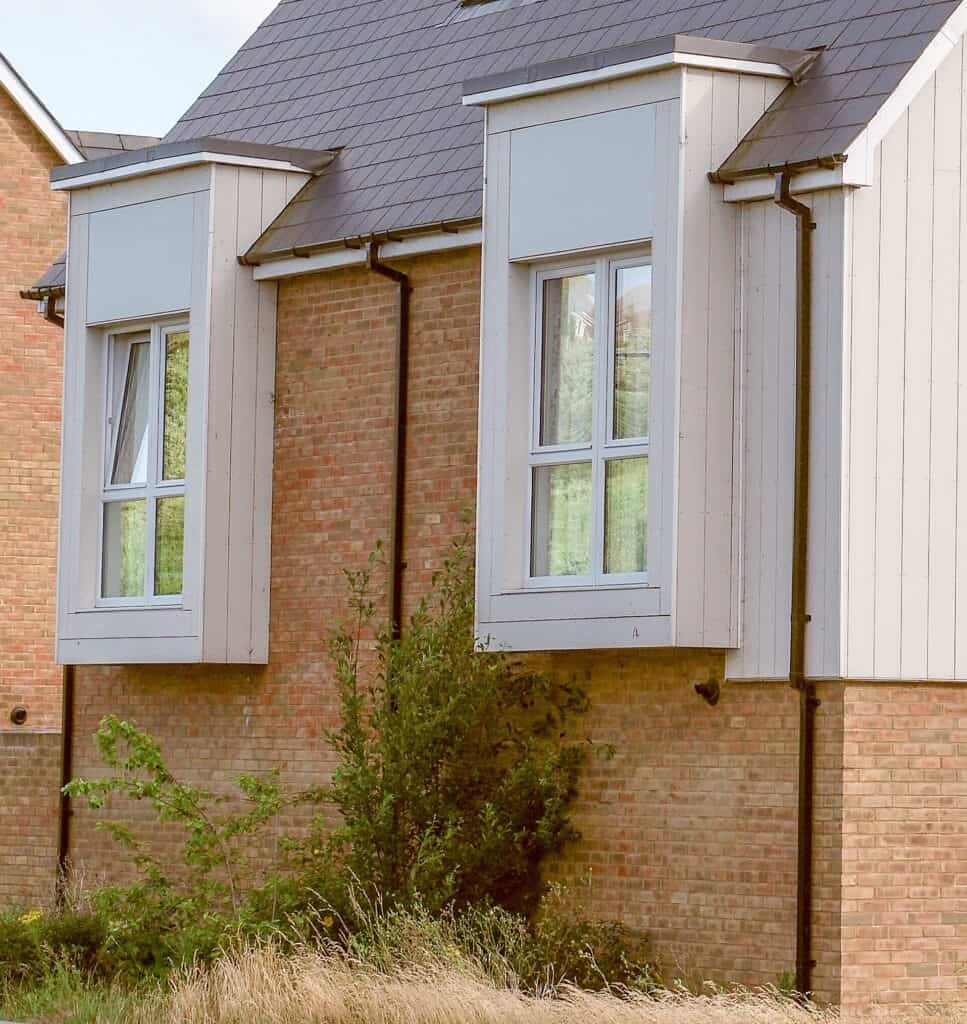
What separates half round gutters from box gutter installation
Semi-circular brackets with a similar shape hold half-round gutters, which have a semi-cylindrical shape. The interior of a half-round gutter is entirely smooth, allowing water to flow through it without restriction.
Flat bottom gutters have a flat back, square shape, and an ogee-shaped front with ridges that widen at the top.
A flat bottom gutter is used in the typical residential structure. Because these gutters are more dependable, easier to install, and able to hold more water per foot, the box is currently more popular.
Advantages of half-round gutters
The smooth, circular interior of half round gutters is where most of their advantages reside. These gutters have much better water flow, and the smooth surface makes cleaning them simpler.
Cleaning dirt and debris from a smooth, half-round gutter is much simpler. You don’t need to work to remove any compacted organic matter from a curve or attempt to wipe around ridges.
Due to their smooth interiors and lack of box gutters’ ridges, half-round gutters are also less likely to corrode and leak. As a result, they require less maintenance and are stronger.
A half round gutter system is a great choice because it has fewer leaks and requires less maintenance. These gutters are weather-proof and functional.
Furthermore, half-round gutters have a classic appeal and are quite decorative. Older architectural styles and historic homes are suitable for half-round gutter systems.
The drawbacks of half-round gutters
Compared to box gutters, half-round gutters hold less water. The ridging of a box gutter may be more challenging to clean out, but this feature increases its holding capacity.
A half-round gutter may make cleaning simpler, but these systems also make it simpler for debris to accumulate.
Box gutters are frequently less expensive than half-round gutters for both gutter installation and material costs. The main reason for this is that they aren’t as popular.
The installation of these gutters may also be more challenging. It cannot simply be drilled into the fascia of the roof. One by one, each bracket must be measured, drilled, and fastened. Additionally, the gutter pieces need to be secured to one another. Half-round gutter connections shouldn’t be made with nails, and some products call for soldering.
Half-round gutter installation process
Half-round gutters are hung in place rather than drilled. You must first attach a bracketing system, then set up the gutters, hang them in place, solder them together, and finally attach the downspouts to complete the installation.
Gutter Installation Steps:
- Outline the pitch.
- Mark the pitch of the gutter first. Every 10 feet across, the gutter pitch (or slope) is normally 0.5 inches downward.
- Start at the gutter’s highest point and mark the location of the bracketing screws to determine this. Here, press a gutter piece and bracket against the fascia. Then use a pencil to mark the location of the screw hole.
- Make a matching mark with a water level at the downspout end. Mark the low point of the gutter directly beneath that. To locate the low point, use the pitch guidelines of 12″ down for every 10 feet across.
- Draw a chalk line between the two points at this point.
- Put the gutter brackets in place.
- Gutter brackets should be attached to the roof. Where the chalk line is, screw them into the rafter tails of the fascia. Drill the rafters with pilot holes, then screw the brackets in.
- The optimal distance varies. Manufacturers frequently advise keeping gutters no more than 36″ apart, but it’s safer to space them at least 32″ apart because gutters in places with more ice and snow need more support.
- There must be brackets at both the corners and the ends.
- Remove the downspout holes.
- Now make the holes for the downspouts.
- Measure the distance from the end of the roof to the locations above each downspout to locate these holes.
- Marks for the downspout brackets should be added to those points and transferred to the gutters.
- Use a saw or shears to create holes that are the right size.
- Install the gutters.
- The gutters should be hung, connected, and soldered in place.
- Hooking the back edge of the gutters to the brackets first will allow for proper placement. Using pop rivets, spring hooks, or screws, fasten the front edge.
- The gutter sections should then be connected. You can use aluminum gutter cement, pop rivets, or slip-joint connectors if the half-round gutters are made of aluminum. It is preferable to solder them if they are made of steel or copper.
- Putting in the downspouts
- Put the elbows and downspouts together completely. Place the downspouts so they face the property’s underground drainage system rather than the house.
- The brackets for the downspout should be drilled and secured. The downspout elbows should be placed above and below the brackets.